
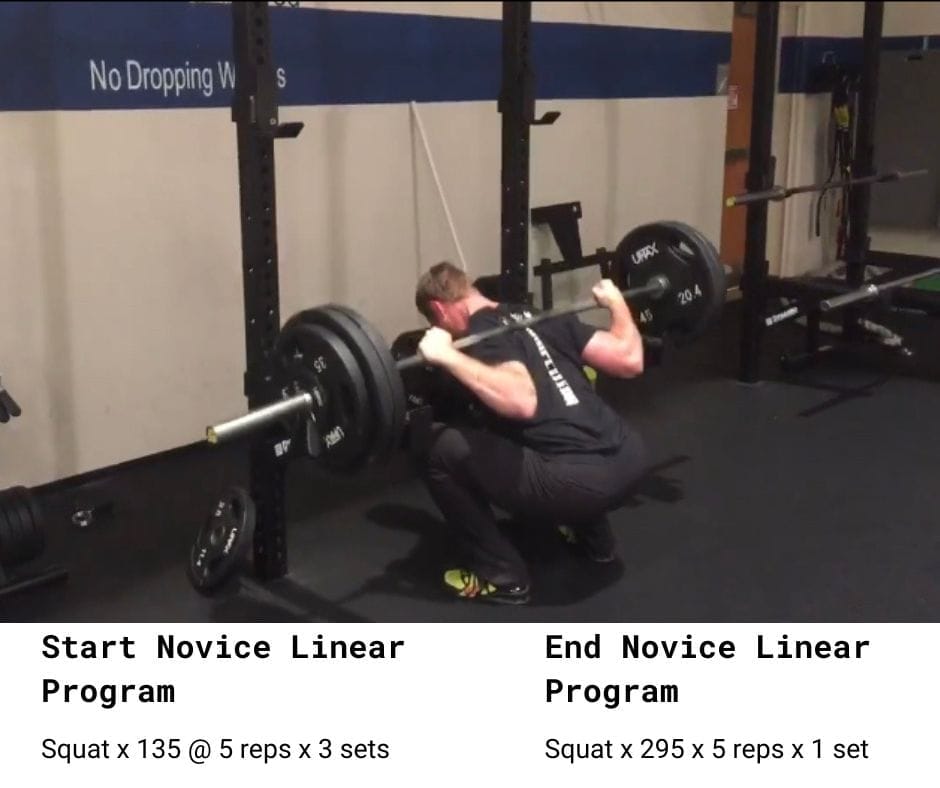
At our gym the squat is probably the most important exercise in our standard programming. The squat requires the highest levels of coordination, mobility, and concentration on the part of the athlete. Given that most of our athletes are novices, executing an effective squat tends to indicate that an athlete is functioning at a high level in the gym, thus making it an obvious indicator of progress.
Often times, an athlete’s strength increases follow the trajectory of his/her squat.
- The squat goes up, other lifts go up.
- The squat stalls, other lifts stall.
Today I wanted to spend some time discussing a few strategies we use when teaching the squat. If you’re already squatting as part of your strength program, great! Keep up the good work and hopefully something here will be new for you.
Tip #1- Learn to Squat without the Bar on Your Back
We teach the squat without the bar on the athlete’s back. By starting without the bar, the athlete is able to focus on squatting to depth and staying in balance and using his/her hips to squat. Adding the bar right away adds an additional layer of complexity that can be too much out of the gate for a novice athlete.
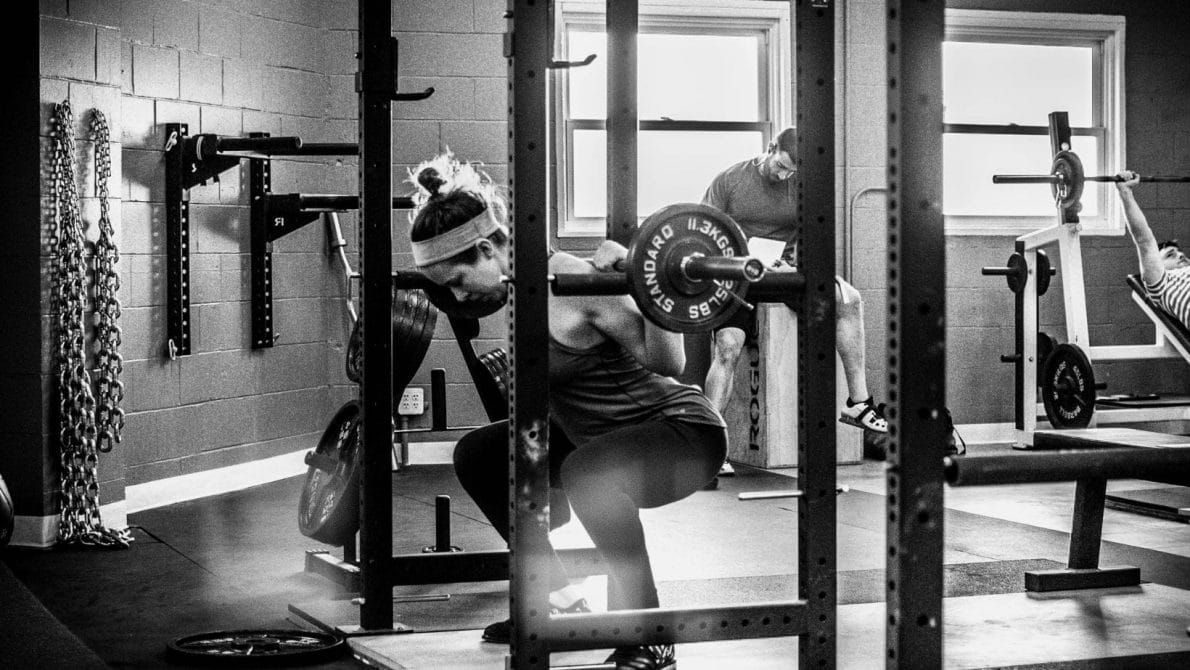
Tip #2 – Find the Correct Stance
Many athletes are unable to squat to depth (hip crease below top of the knees) because they have their feet too close together. I like to tell folks their hips should be able to fit between their ankles. When squatting with a narrow stance (ankles closer than hip-width), the athlete will need to display exceptional levels of ankle, knee, and hip flexibility.
To accommodate the increased ankle and knee demands might encourage the athlete to come up on his/her toes to squat. This will lead to poor overall balance and a weak bottom squat position. If you’re going to move big weight, you’ll need to be flat-footed and balanced (more on balance below).
Another important stance consideration is where the athlete has his/her toes pointing. The knee is a hinge joint, it doesn’t like multiple types (directions) of movement. The knee pretty much wants to bend and straighten, it doesn’t like much rotation. When athletes try to squat with their toes pointed forward, it can make shoving their knees out painful and/or ineffective.
The “toes out” positioning, allows the athlete to more effectively access his/her hip external rotators (hip muscles) and adductors (inner thigh muscles). More muscles = more weight on the bar.
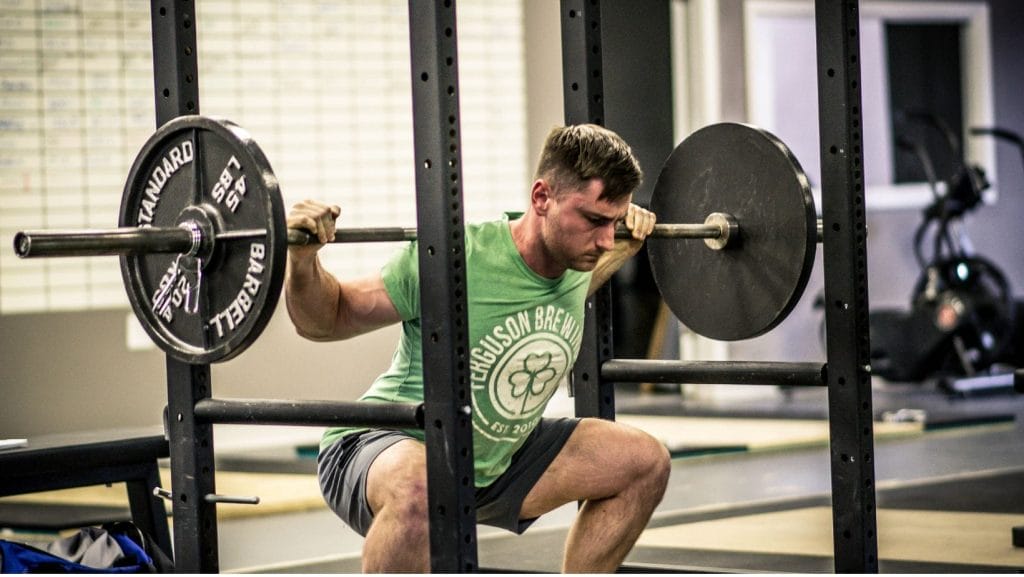
Tip #3 – Use a “Low Bar” Rack Position (if possible)
We like to use a “low bar” position for bar placement if the athlete’s shoulders will allow for it. Why? Simple, this allows the athlete to lean forward a bit making depth a bit easier and a bit more effective moment arm about the hip musculature.
This positioning creates a “hip dominant” style of squatting, ultimately allowing the athlete to move bigger weights.
Tip #4 – Box Squat
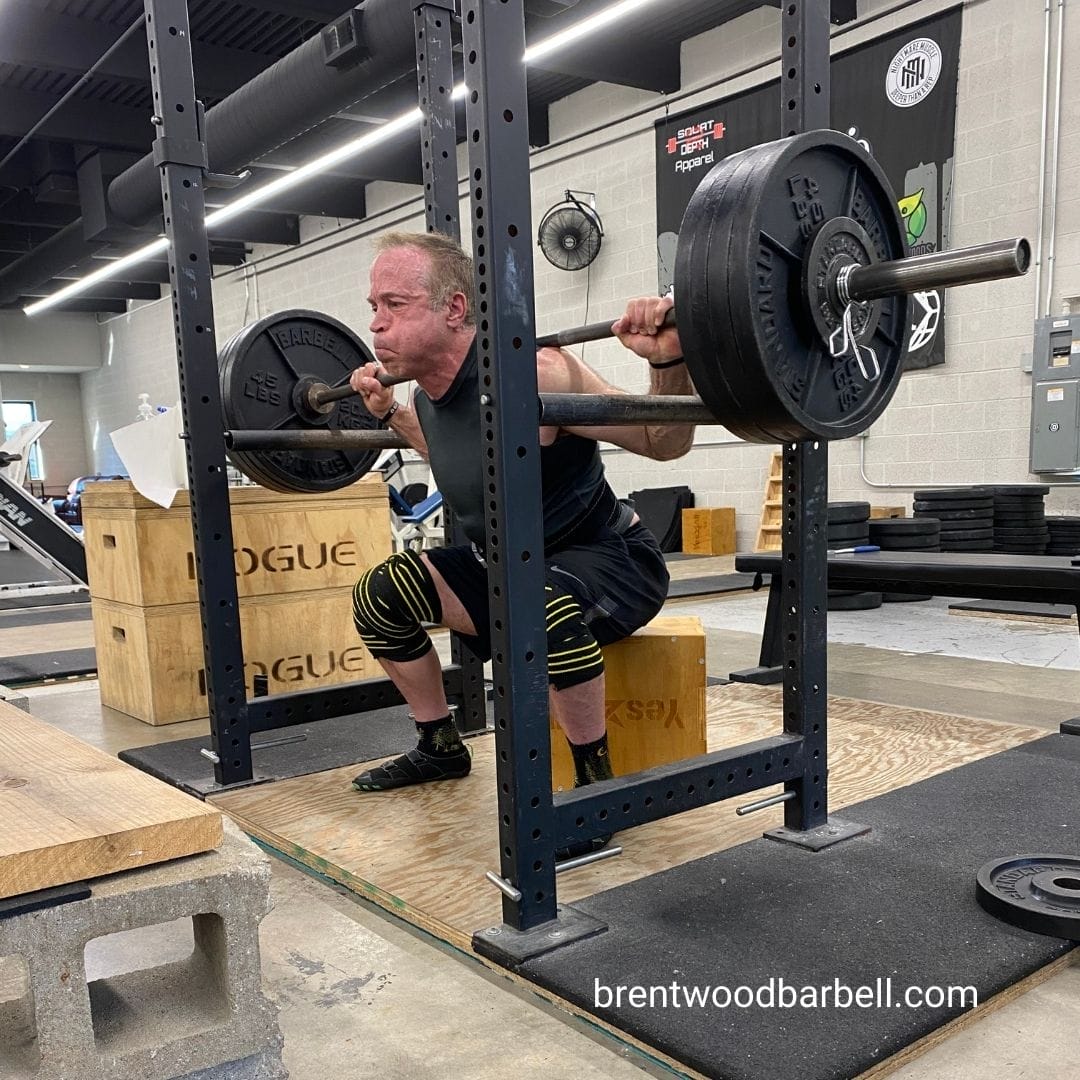
Using a box allows the athlete to focus on squatting down with intention by removing the potential for falling or screwing up the bottom position too much. Essentially, it gives the athlete the confidence to execute the movement by reducing the amount of stuff to focus on!
A secondary benefit of the box can be creating a specific depth for the athlete. The box will give him/her feedback. Typically, we like athletes to squat to full depth but on occasion, we may change that. We may have them squat high for orthopedic reasons, sometimes even performance (we can overload the squat using a high position), we may also have them squat low(er) for fatigue management reasons.
In addition to height alterations, we can also have the athlete change his/her stance positioning. As noted above, we have a general stance that we start with but once that has been achieved, we may opt for a wider stance positioning to increase the demands on the hips and/or adductors. Many athletes can benefit from increased hip and adductor training and the wider stance box squat is an effective/efficient way to get this in.
Box squatting is great for learning how to squat AND it’s also great for improving an already impressive squat.
Tip #5 – Find your Midfoot Balance
A lot of folks will say they are “too tight” or “inflexible” when it comes to learning how to squat. Often, they attribute stiffness in their hips, ankles, and low backs to an ineffective bottom squat position. In reality, most folks can squat to depth (hip crease below top of knee) just fine once you’ve adjusted their stance and taught them how to find the middle of their foot.
We want the athlete balanced on their midfoot. This is often challenging to learn so I have them weight shift too far forward (onto their toes) then I have the weight shift too far posteriorly (onto their heels). Once they’ve done that and realize how ineffective each extreme is, I have them find the middle of their foot. Once they’ve found this, I have them squat down slowly as to stay on their midfoot. After a few reps, they usually start to understand what I’m talking about and magically, their squat depth improves.
On some level, successful weight lifting / strength training is about meeting the midfoot balance demands during the course of a heavy lift. Failure will occur at some point and an athlete that is able to maintain proper balance will lift more weights, all other factors being equal.
While it’s not required, adding the squat to your program can be a powerful stimulus for increased strength and general training enjoyment. I’d encourage you to give it a shot. If you’d like some instruction, you can BOOK a MEETING with one of our coaches today!
Talk soon,
James