
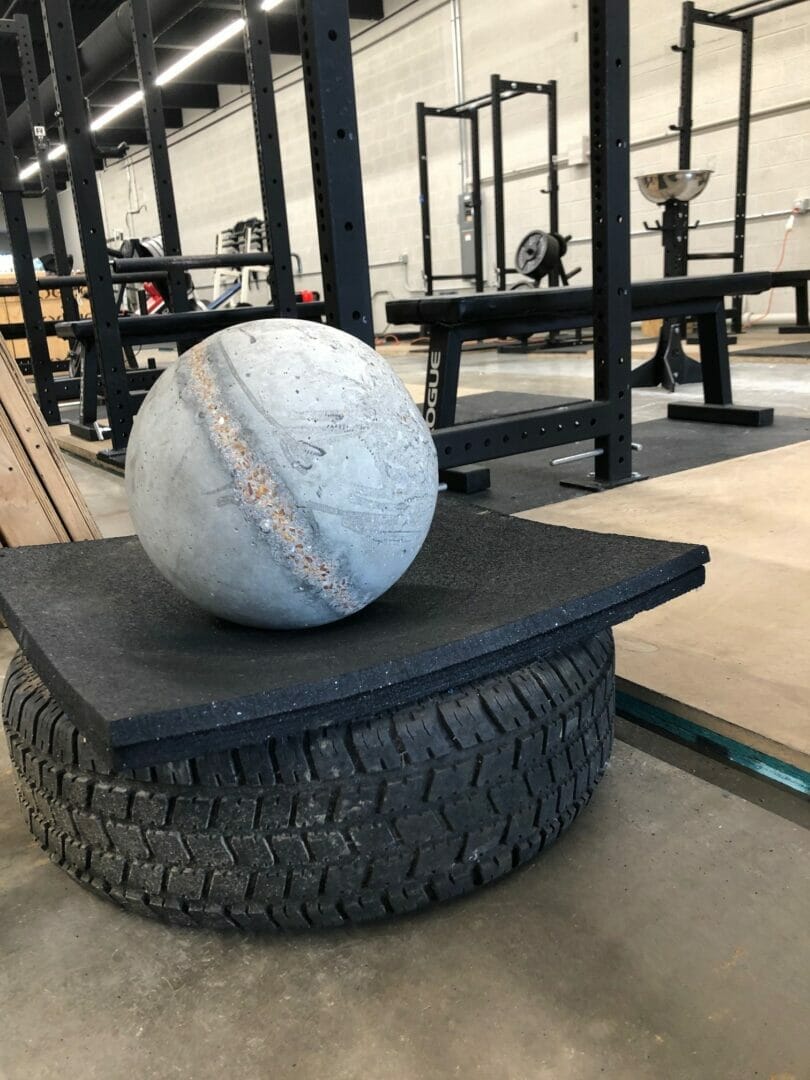
Today we’re going to cover a really simple way to build a platform for stone loading using your existing power rack. In this case, the “stone” can be an actual atlas stone, rock, or even a “heavy” medicine ball. All can work really well, depending on your facility specifics and training goals.
Accommodating Different Athlete Heights
The first, and most obvious reason to build a loading table using a power rack is that the height of the table can be adjusted quite easily. This method also can save floor space if when compared to a traditional table … assuming you have enough racks to spare. At our gym, we usually do stone, keg, or med-ball loads at chest height. This certainly isn’t a rule but it’s a height that allows for a good bit of work (long range of motion) whilst minimizing the lower back extension that would need to accompany an overhead load. Most of our athletes deadlift multiple sessions per week so total low back fatigue must be considered. Finally, loading to your chest still allows for pretty damn heavy weights if you have them.
Step 1 – Materials List
Unless you have them laying around, you’re going to need to head to your local home improvement store for some of these items.
- 2″ x 6″ x 96″ lumber (I purchased 4 in order to make 2 tables)
- 2″ x 4″ x 92″ lumber (I purchased 2 in order to make 2 tables)
- 3″ deck screws x 1 box
- Drill

Most home improvement stores will cut the lumber for you so if you know your measurements ahead of time you can have the cutting done for you. My gym is stocked with Rogue Fitness R3 power racks. I had my lumber cut as follows:
- 2″ x 6″ x 96″ cut into 48″ pieces (each rack will hold 4 of them)
- 2″ x 4″ x 92″ cut into 46″ pieces (each rack will need 2 of them)
Step 2 – Build Out
Once you have your lumber cut to specs, you’ll want to take the 2″ x 4″s and place them about 3″ from the ends of the 2″ x 6″s … again, this is based on my R3 power rack so yours may be different. These 2″ x 4″s will serve as rails to keep the table in place during loading. Once you have your lumber in place, go ahead and drill them together. That’s it, flip over and place in the rack at desired height.

Now You’re Ready to Train
We use heavy loads to a table in a couple of different ways at our gym. As noted above, we preform these loads with kegs (filled w/ sand), heavy medicine balls, and stones. We’re working on getting sand bags and those will definitely make the list as well. Here are 2 very easy protocols for implementing heavy loads into your training.
- Protocol 1: as part of a long aerobic circuit on your GPP days, perform 3 heavy loads between accessory exercises (dips, chins, weight planks, etc.). The loading will “keep it aerobic” by providing heart rate spikes during your session.
- Protocol 2: max reps per minute. This is not an aerobic method for obvious reasons. The athlete should be quite experienced before giving this a shot. It would also be prudent not to place this type of work the day before heavy pulling or squatting if possible.
There you have a simple, D.I.Y. table for heavy loading. I’ve also attached a video below if you’d like to watch this in action.
If you enjoyed this article, check out: Restoring an Older Barbell
Good luck with your training!
James